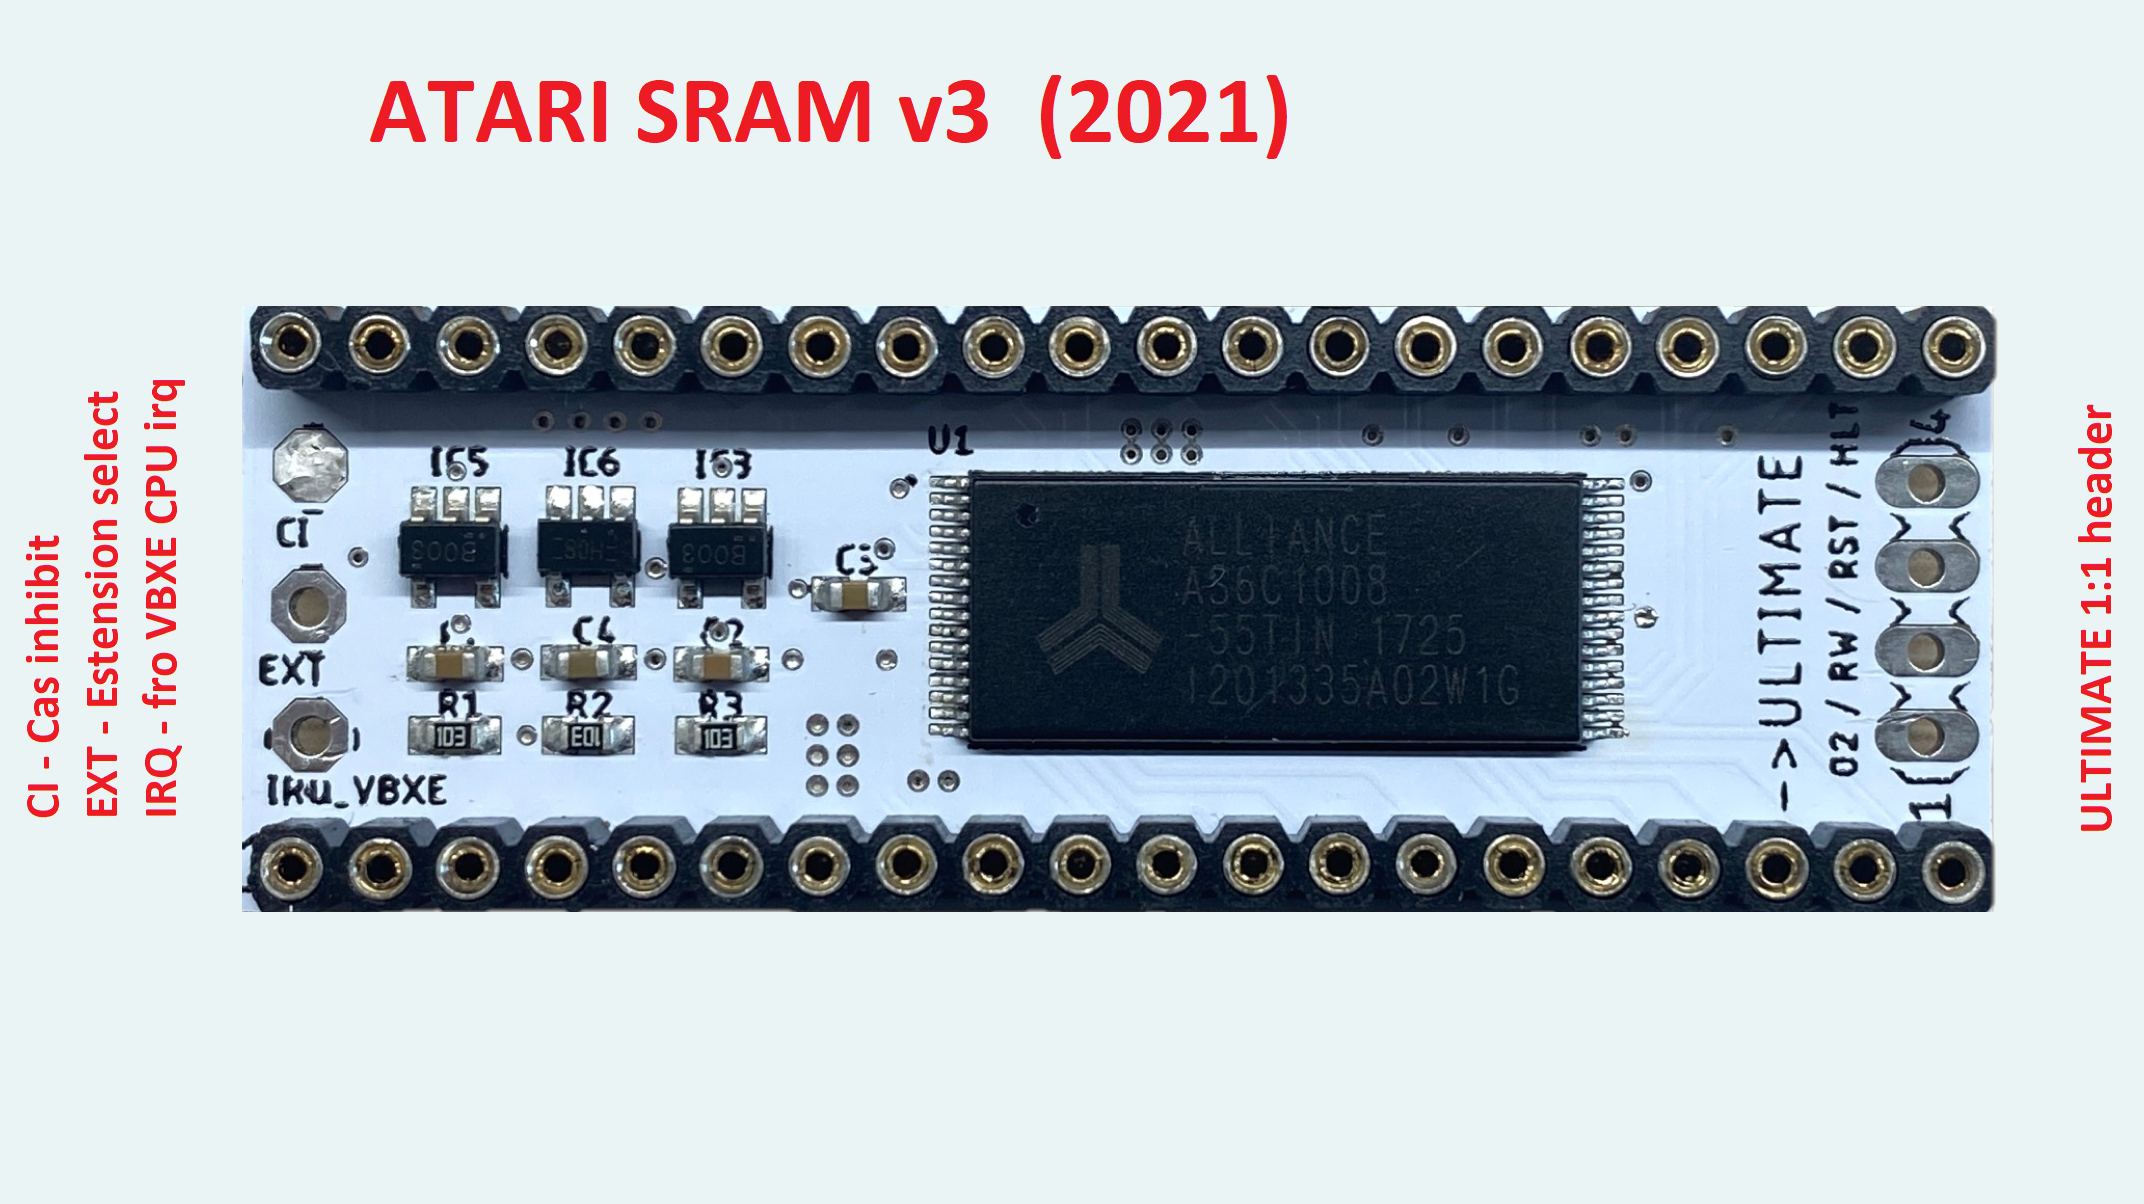
SRAM MODULE is my first step to help ATARI owners to repair their computers home, as in most of the cases faulty is dynamic ram
- replaces base ram of 64KB in all 8bit ATARI
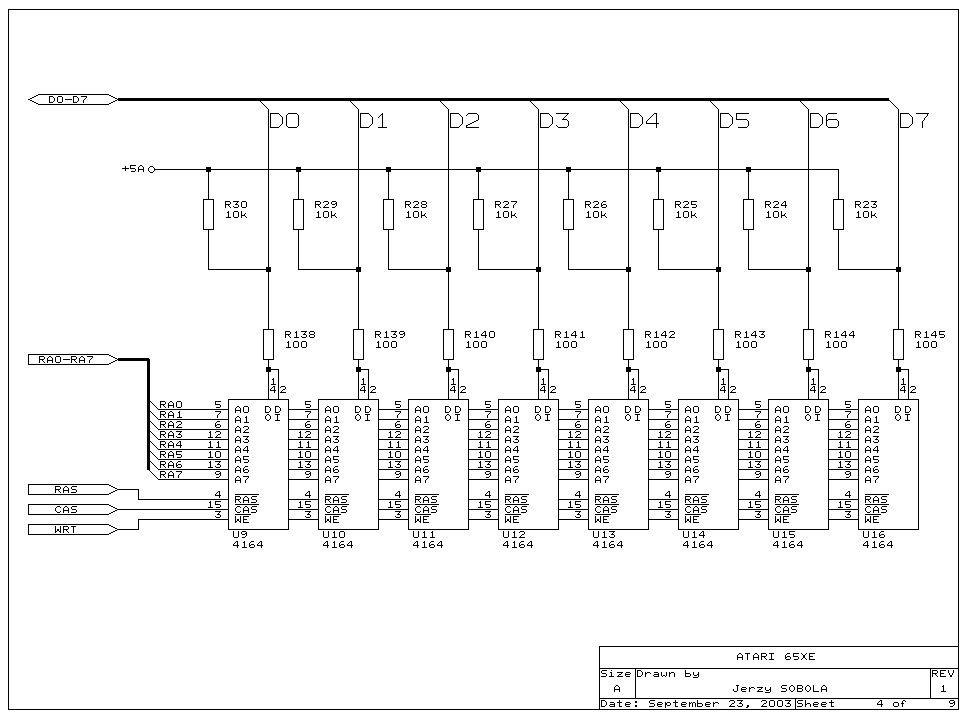
- replaces broken DELAY LINE chip in XL computers and many more ICs - refer to schematics down the page
- upgrades ram in 600XL to 64KB
- PCB thickness is 0,8mm
- Ultimate 1MB connector
- VBXE IRQ connector
- CRUCIAL for RAPIDUS installation ...in major cases :-) (2022-02-10)
Inside BOX:
Disclaimer:
- If you:
- are not familiar with soldering
- do not have proper tools
- do not understand STEP BY STEP instructions
please LET a pro technician do it for you or send me your ATARI BOARD for installation. Upgrade installation cost is 5 € only. Contact me to arrange installation.
- Please remeber - wrong tools usage or low skills may damage atari
- Any damage / harm to your hardware is NOT subject of any kind of warranty.
- Installation is very easy, but unexperienced hands can do a lot of damage. Please, do not ask me questions WHAT HAVE I DONE WRONG WITH INSTALLATION - answer will be always the same -
I DO NOT KNOW
Step by step:
- REMOVE old RAM CHIPS ( hint: not necessary actaully; if Your ram do not get hot, You can remove resistors on data lines to ram and keep ram chips intact)
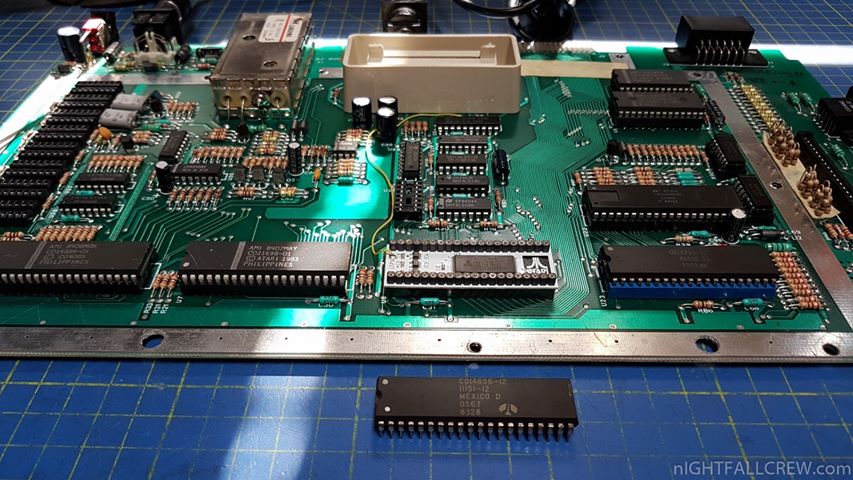
- install SRAM MODULE under MAIN CPU; insert CPU to SRAM MODULE
- Please, refer first to VBXE fitting manual to locate following signals at Your motherboard:
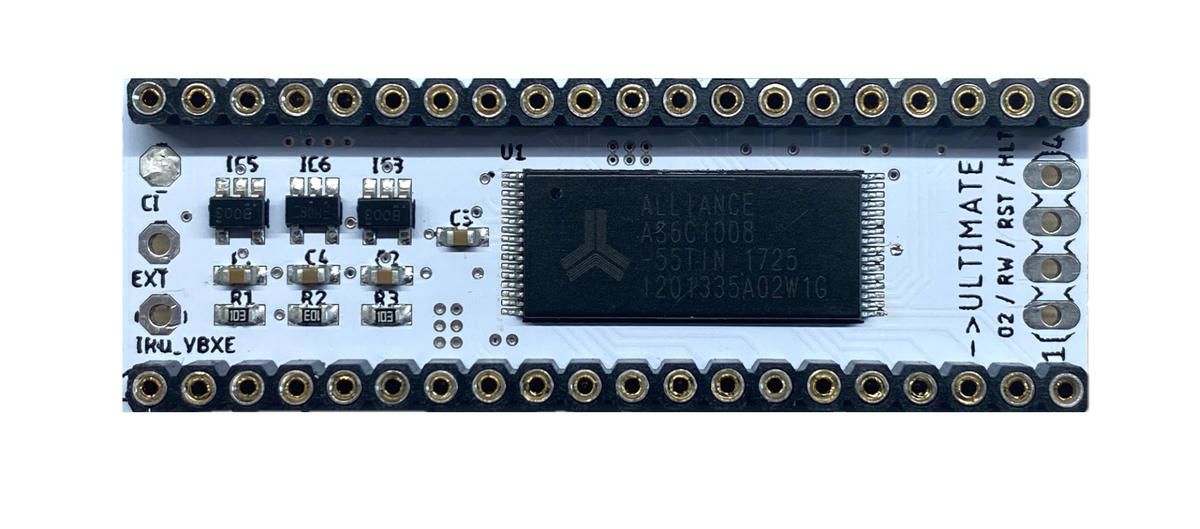
- EXTSEL (EXT solder point at SRAM module)
- CasInh (CI solder point at SRAM module)
- Make at least ONE CONNECTION between CI point at sram module to CAS_INHIBIT SIGNAL at ATARI board
- EXT /Extension Select - EXTSEL signal/ is not needed to resurect atari, but some upgrades may needed it, especially all PBIs: Rapidus, VBXE with RAM cores, etc....
- PIN 1 is below EXT hole; bottom left at below picture.
ps. handy article https://www.evilmadscientist.com/2010/basics-finding-pin-1/ if You do not know how to identify pin 1 in chips. PIN 1 always goes to Pin 1
SRAM MODULE COMPLETLY REPLACES below parts that can be actually eminated now.

- XE ( and majority of freddy chip, than can be now replaced even with clk_divider built upon TTL 74)

Product gallery

.png)
.jpg)